
How To: Macro Filters {+ FREE Step-By-Step Tutorial On Mastering The Perfect Ring Shot}
August 20, 2018
")


The “How” and “Why” of Using Macro Lens Filters + Freebie | Photography Tutorial
After hearing about macro filters time after time (I hope that song isn’t stuck in your head now–you’re welcome ;) I finally became one of the cool kids and bought a set! However, finding tutorials on how to use them was ridiculously hard! So today I’m going to teach you how to use them (and what they are, for those of you who don’t know yet).
But, first! Why use macro filters instead of a macro lens?
I’m glad you asked. My number one reason for using the macro filters is because I want to simplify my bag as much as I can and cut down on unnecessary weight. I also think the macro filters create a prettier, more crisp image than my old 100mm macro lens(I had the REEEALLY old one!).
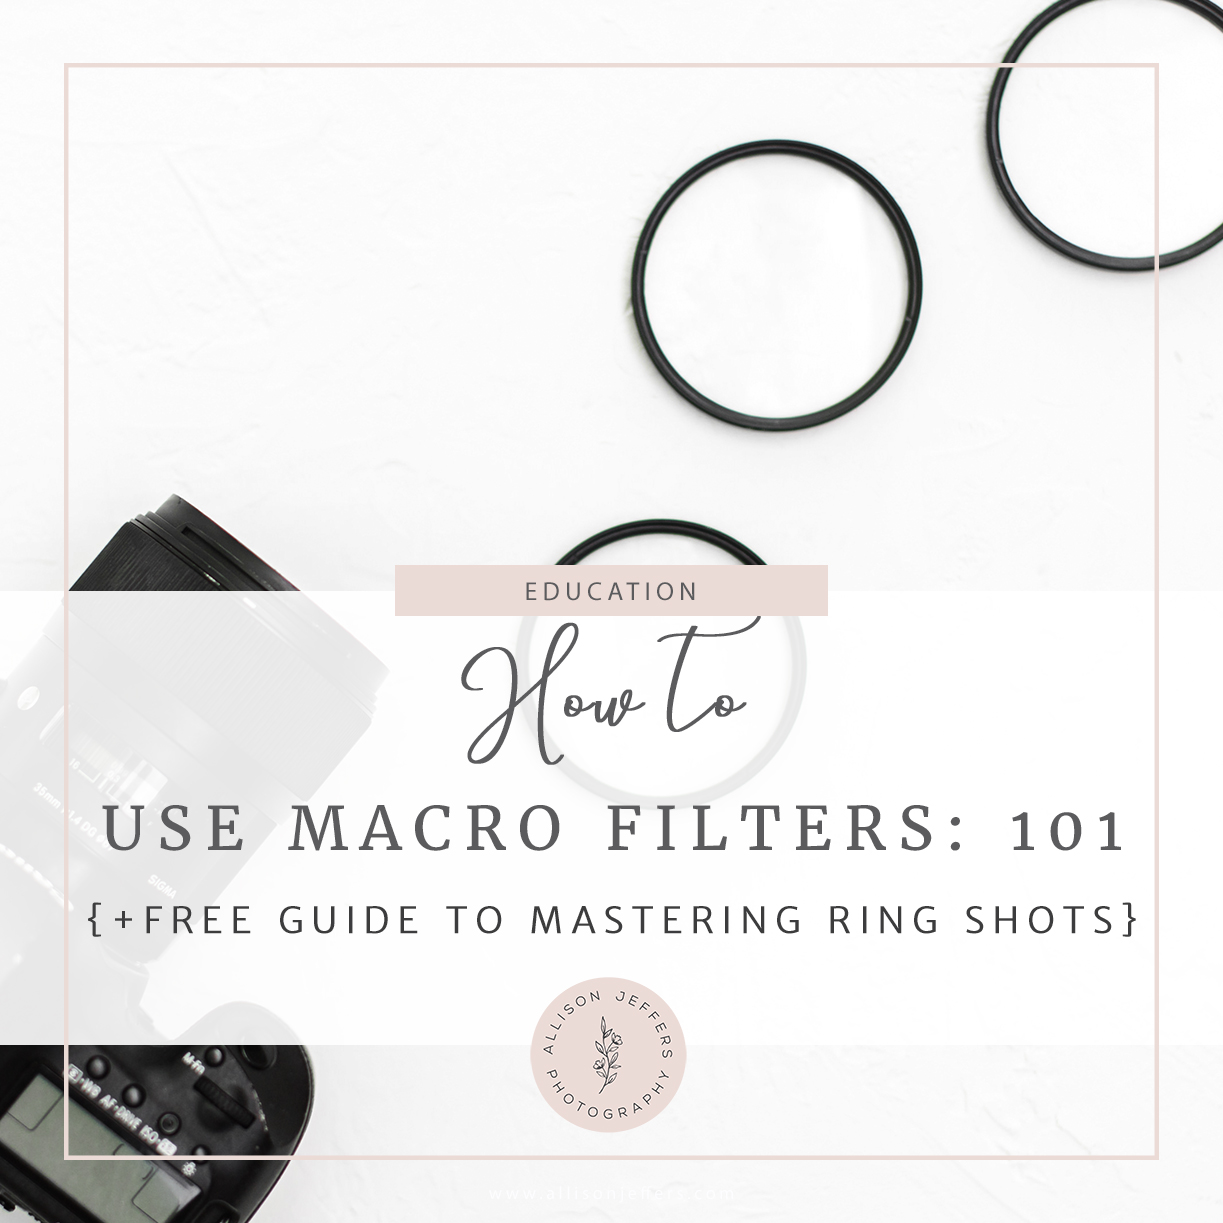
What are macro filters?
They are little magnified filters that attach to your lens (basically think of a magnifying glass with threads).
With that said, here is how to use them!
Step 1: Find the perfect macro filters.
I personally use THIS SET from Amazon. They’re less than $20 and I weigh almost nothing (AND you get free prime shipping!)! I use these on my Canon 50 1.2. I’ve tried using filters on my 24-70, but I couldn’t get them to work as well.
Related Video
Step 2: F Stop
When using macro filters, your F stop needs to be much higher than you’re probably used to. I photograph wedding rings with an aperture of at least 5.0. If you go lower, you’ll get chromatic aberration and a fuzzy image. This is probably where people get turned off by macro filters when they first get them without knowing this important step. 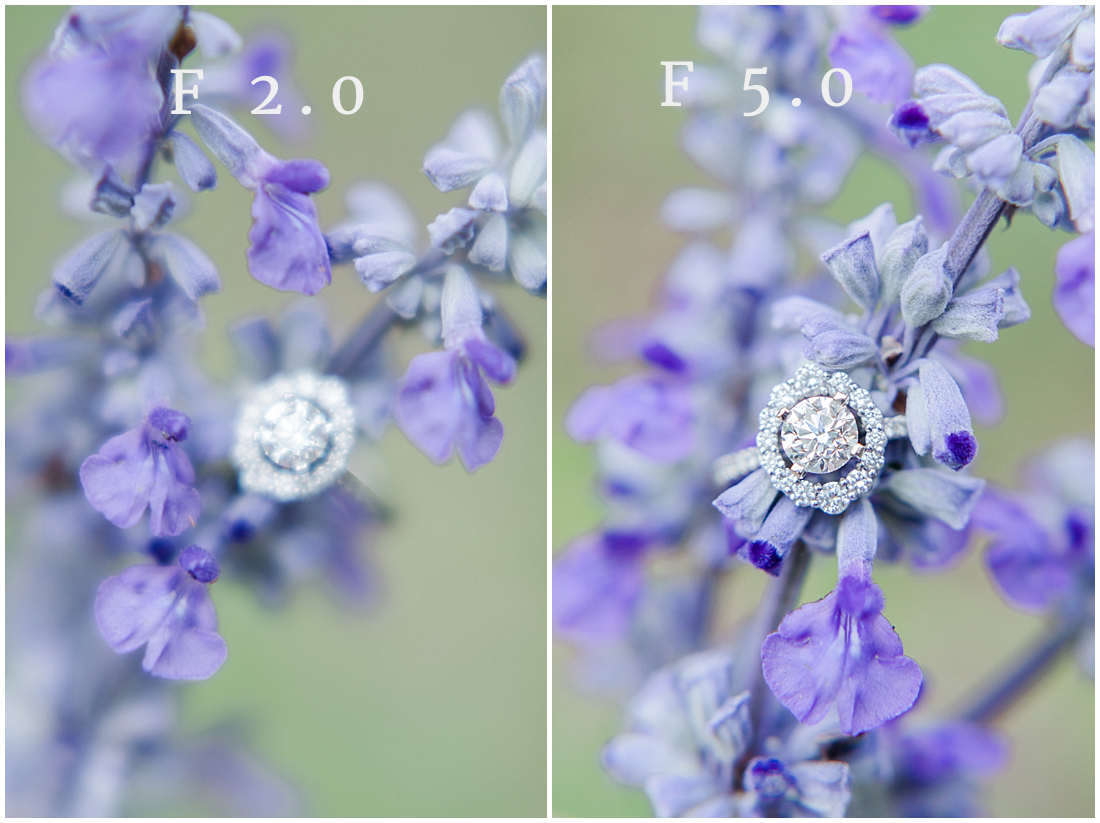
Step 3: Choosing your filter magnification
In my set of macro filters there’s a +1, +2, +4, and +10 filter. I use the +4 for most ring shots, but if I’m doing an engagement session and want to photograph the engagement ring by itself I put the +10 filter on to get really close.

Related Video: 
Other Important Info
Macro filters do not work exactly the same as a macro lens. You can’t take the photo from just any distance (that’s why there are multiple magnifications). So if you can’t get the ring in focus try moving closer to it or farther away. It takes a little bit of practice to get it just right, but you’ll get the hang of it, I promise!
Have Questions? Leave a comment! Want more free education? Let us know!
Need more help mastering ring shots? Grab my free guide that gives all of my secrets for the perfect ring shot including lighting, styling, and tricks you may have never heard of!
Pin it!
xoxo, Allison

Allison Jeffers is a photographer and educator serving sweet couples and helping other creative entrepreneurs reach their goals. She specializes in wedding photography, elopements, and proposals as well as Bridal and Engagement portraits in Texas. She is available for travel worldwide and has her passport ready!


share the love!