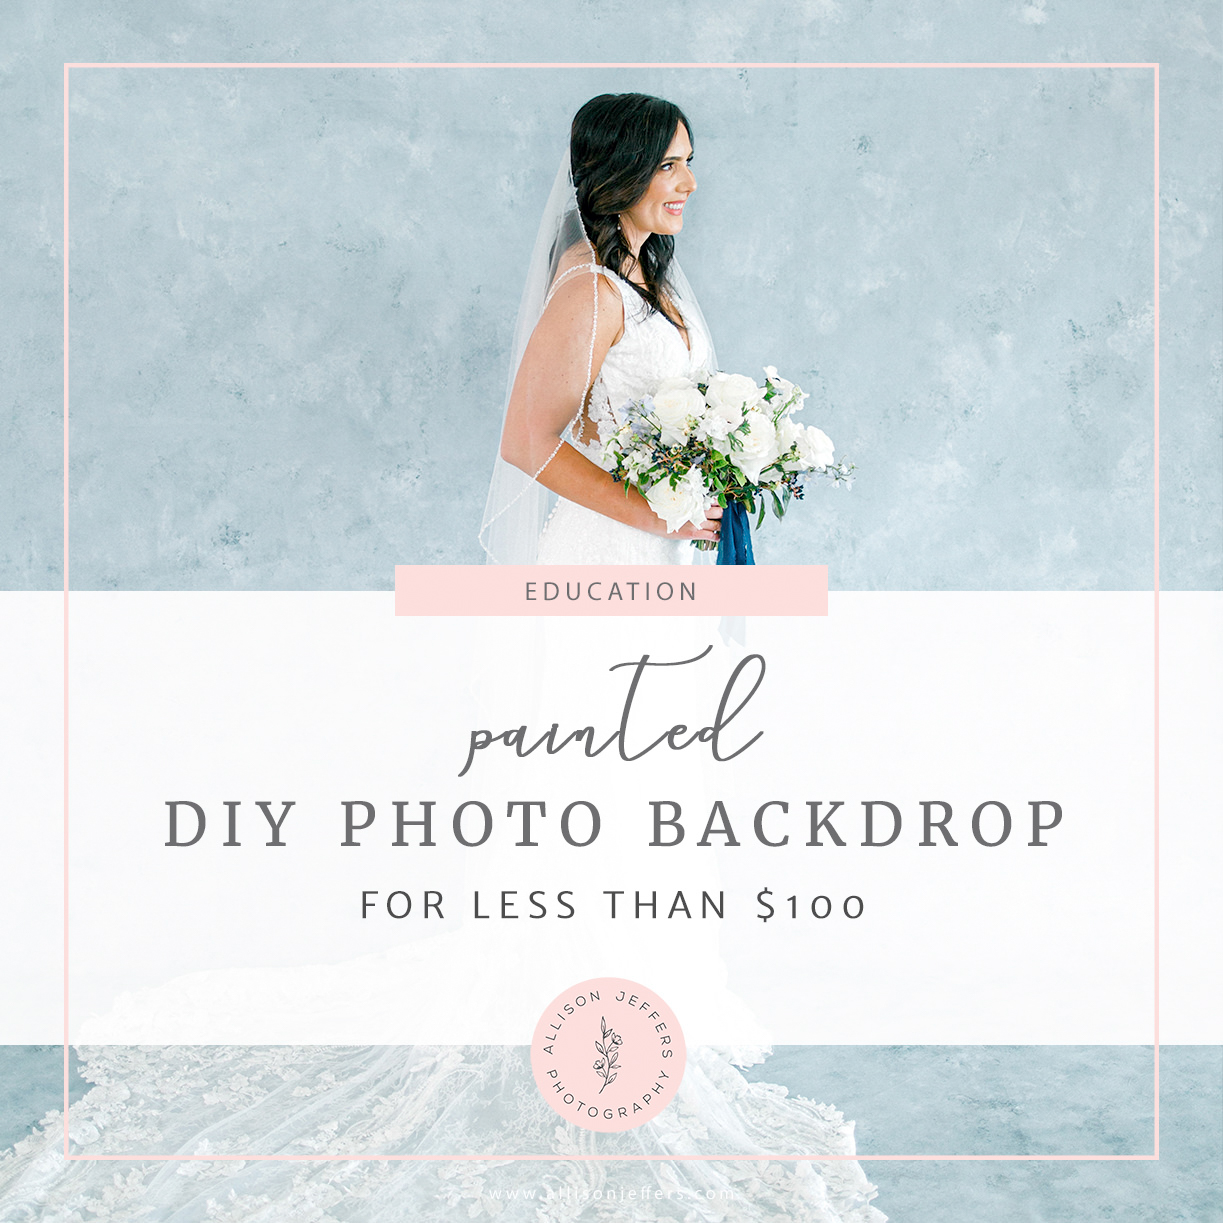
Painted DIY Photo Backdrop
January 13, 2023
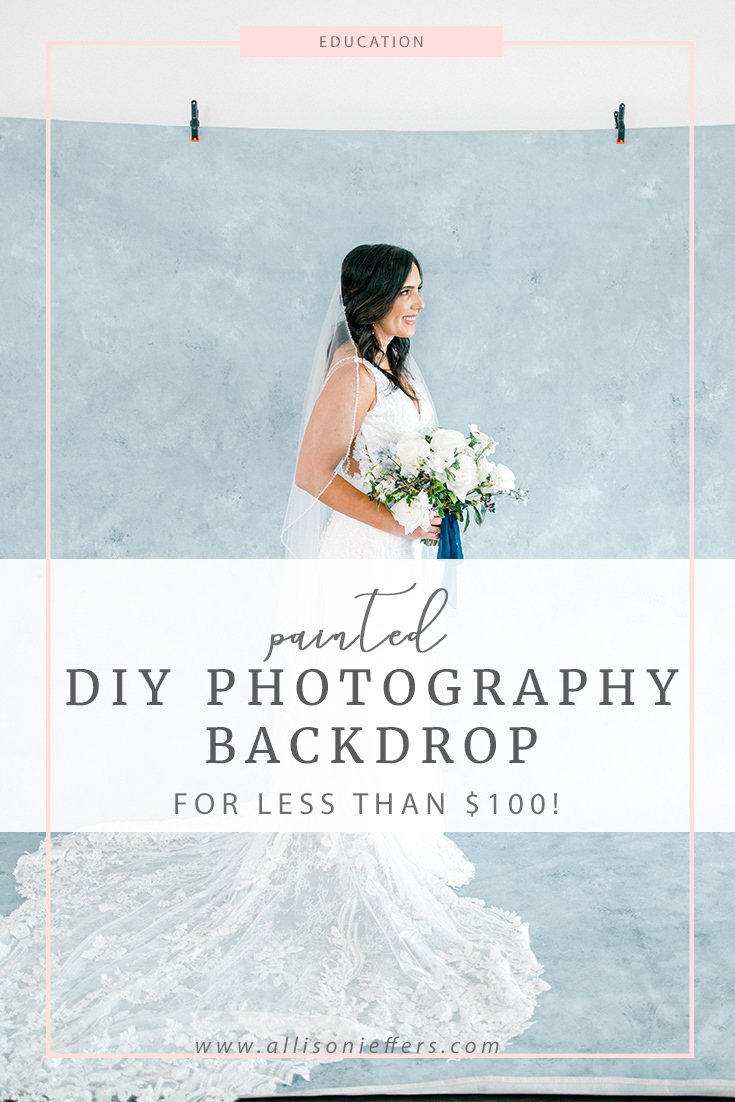
DIY Photo Backdrop | Save $300+!
I mostly do outdoor photo sessions, but sometimes I just want a background that fits the vibes without having to hunt down a wall of a certain color (if you know, you know). So I started looking into painted photography backdrops, but I couldn’t justify the price ($400-$1000!) so I naturally decided I was going to make one myself. LOL. If you follow my home account on Instagram (@allisonjeffershome) this doesn’t shock you one bit. I built our pantry built-ins and am doing our walk-in closet built-ins at the moment. I’m down to DIY anything, so a DIY photo backdrop sounded pretty easy.
I ended up making this DIY photo backdrop for…wait for it…less than $100!
And really, if you already have paint rollers and extenders and trays it will be even cheaper!
So let’s get to it.
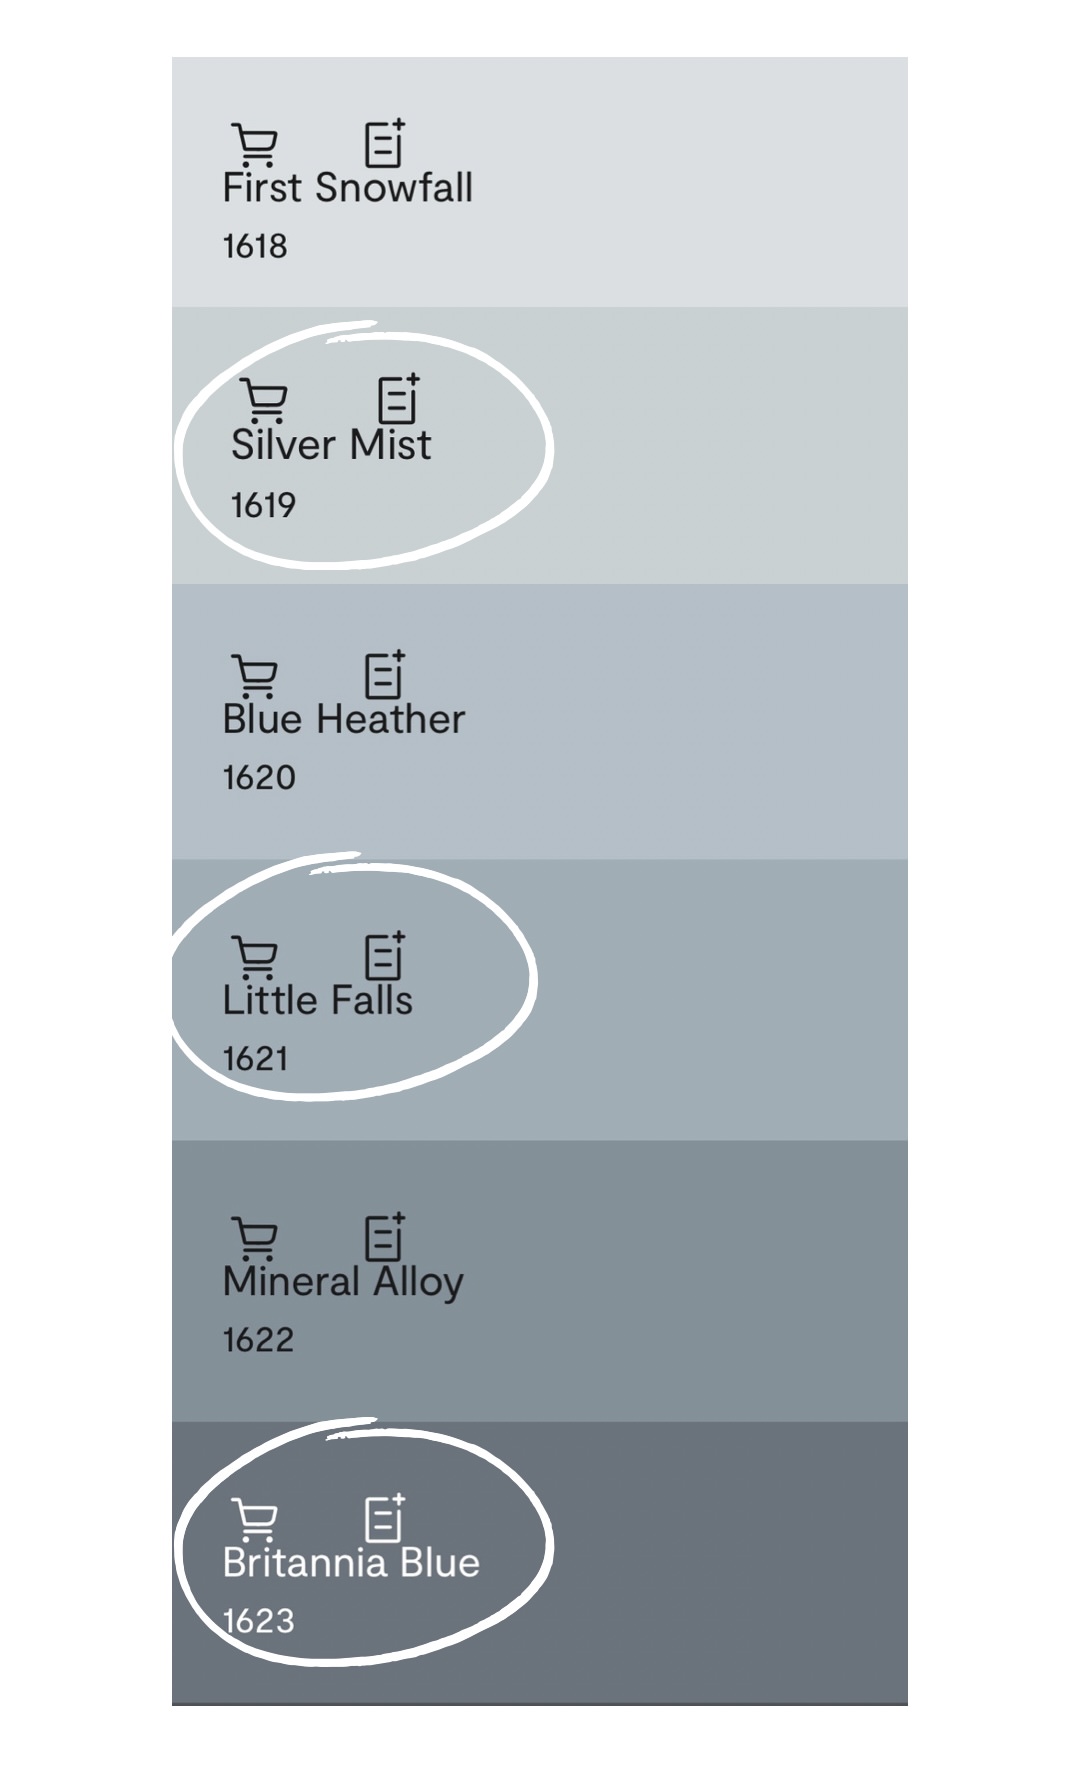
First things first, you need to decide on three paint colors! The easiest way to do this is to find one mid-tone paint color you like and then get a lighter shade and a darker shade from the same “family.” Here are the colors I chose:
Supplies
(I’m linking my exact products I used)–All from Home Depot
1 9×12 dropcloth (I would have went with 12×15 but my car is wayyy too small)
1 pack of plastic dropcloths (make sure you cover an area larger than your cloth dropcloth)
1 pack of high density paint rollers
1 gallon of matte/flat paint in your medium color (I just found the cheapest one with 0 VOCs)
1 paint sample of the darker and lighter colors(*see notes at bottom for what I would do differently*)
A cup to mix your paint in (I got a plastic 4-cup measuring cup from Dollar Tree)
Watch My Instagram Reel Tutorial Here:
View this post on Instagram
DIY Photo Backdrop : Step One
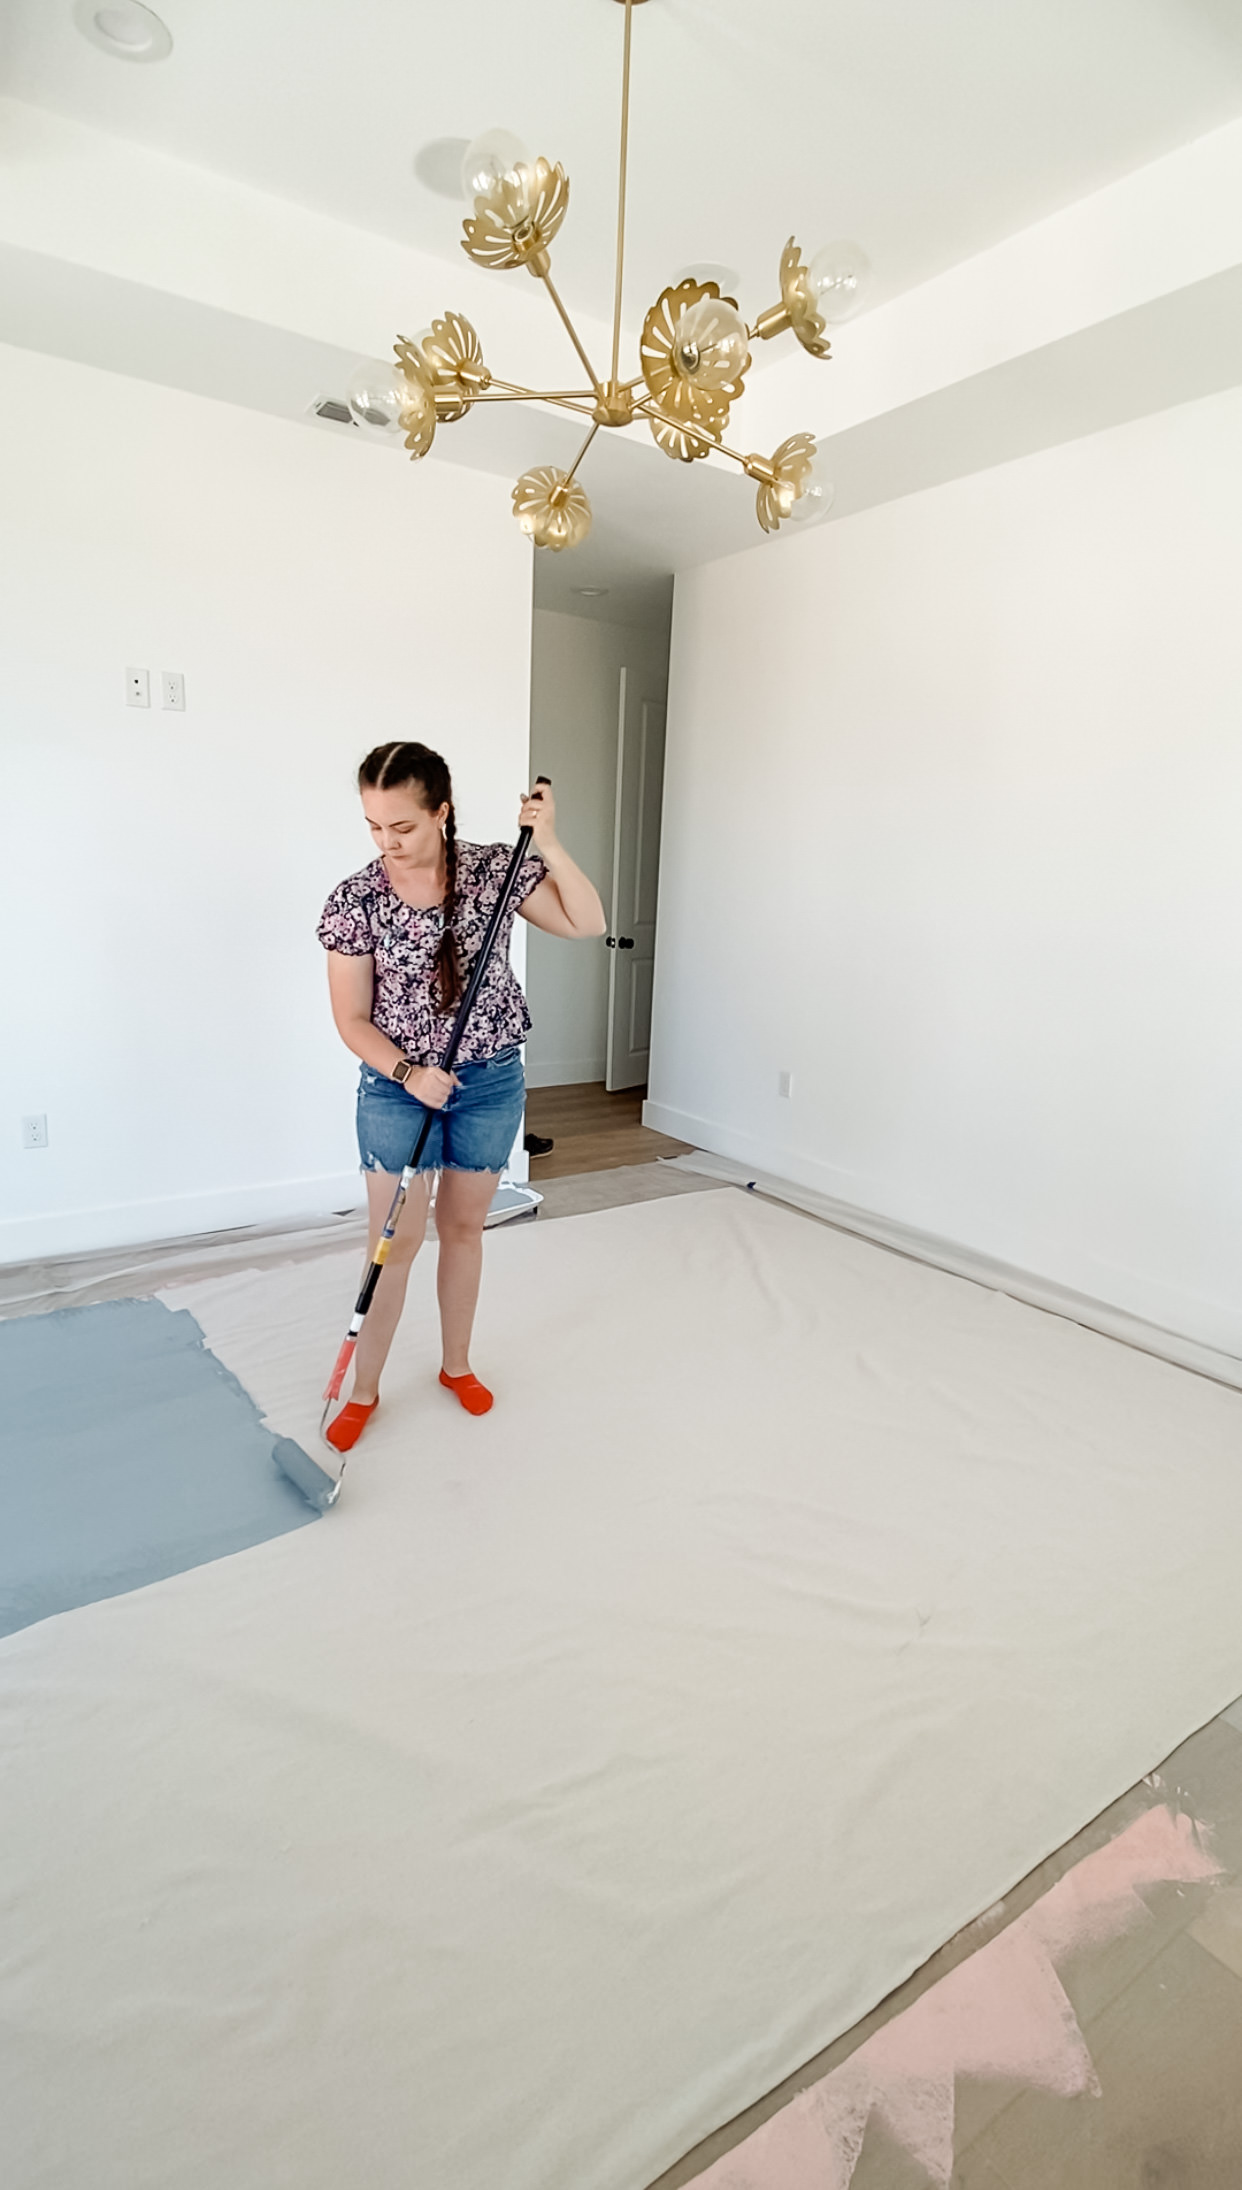
I put down a plastic dropcloth and ironed the cloth dropcloth I bought to paint. Then I painted my dropcloth the medium color “Little Falls” (scroll down to see what I would change)
Step Two
I diluted my dark and light colors to 50% with water. Then I sponge painted the darker color on (see notes on what I would have done differently)
I used a stamping motion and then rolled to blend. This step really scared me because I thought it looked butt-ugly. LOL. I promise it gets better.
PS I definitely recommend putting grocery bags over your shoes/socks to help with cleanup!
Step Three
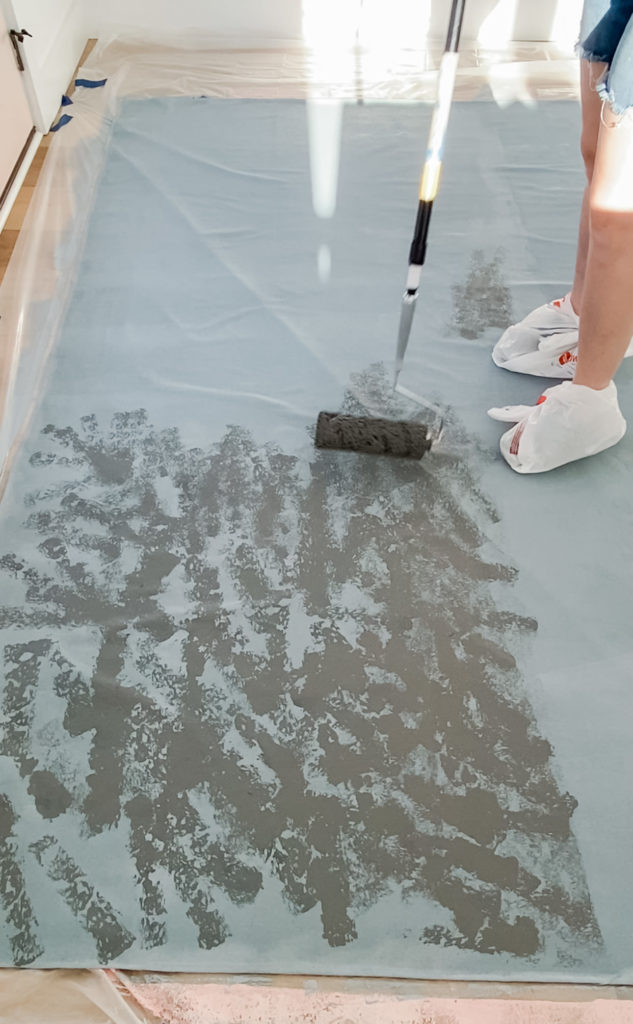
Do the same thing with the lighter color while the darker color is still wet so you can blend them together!
Step Four
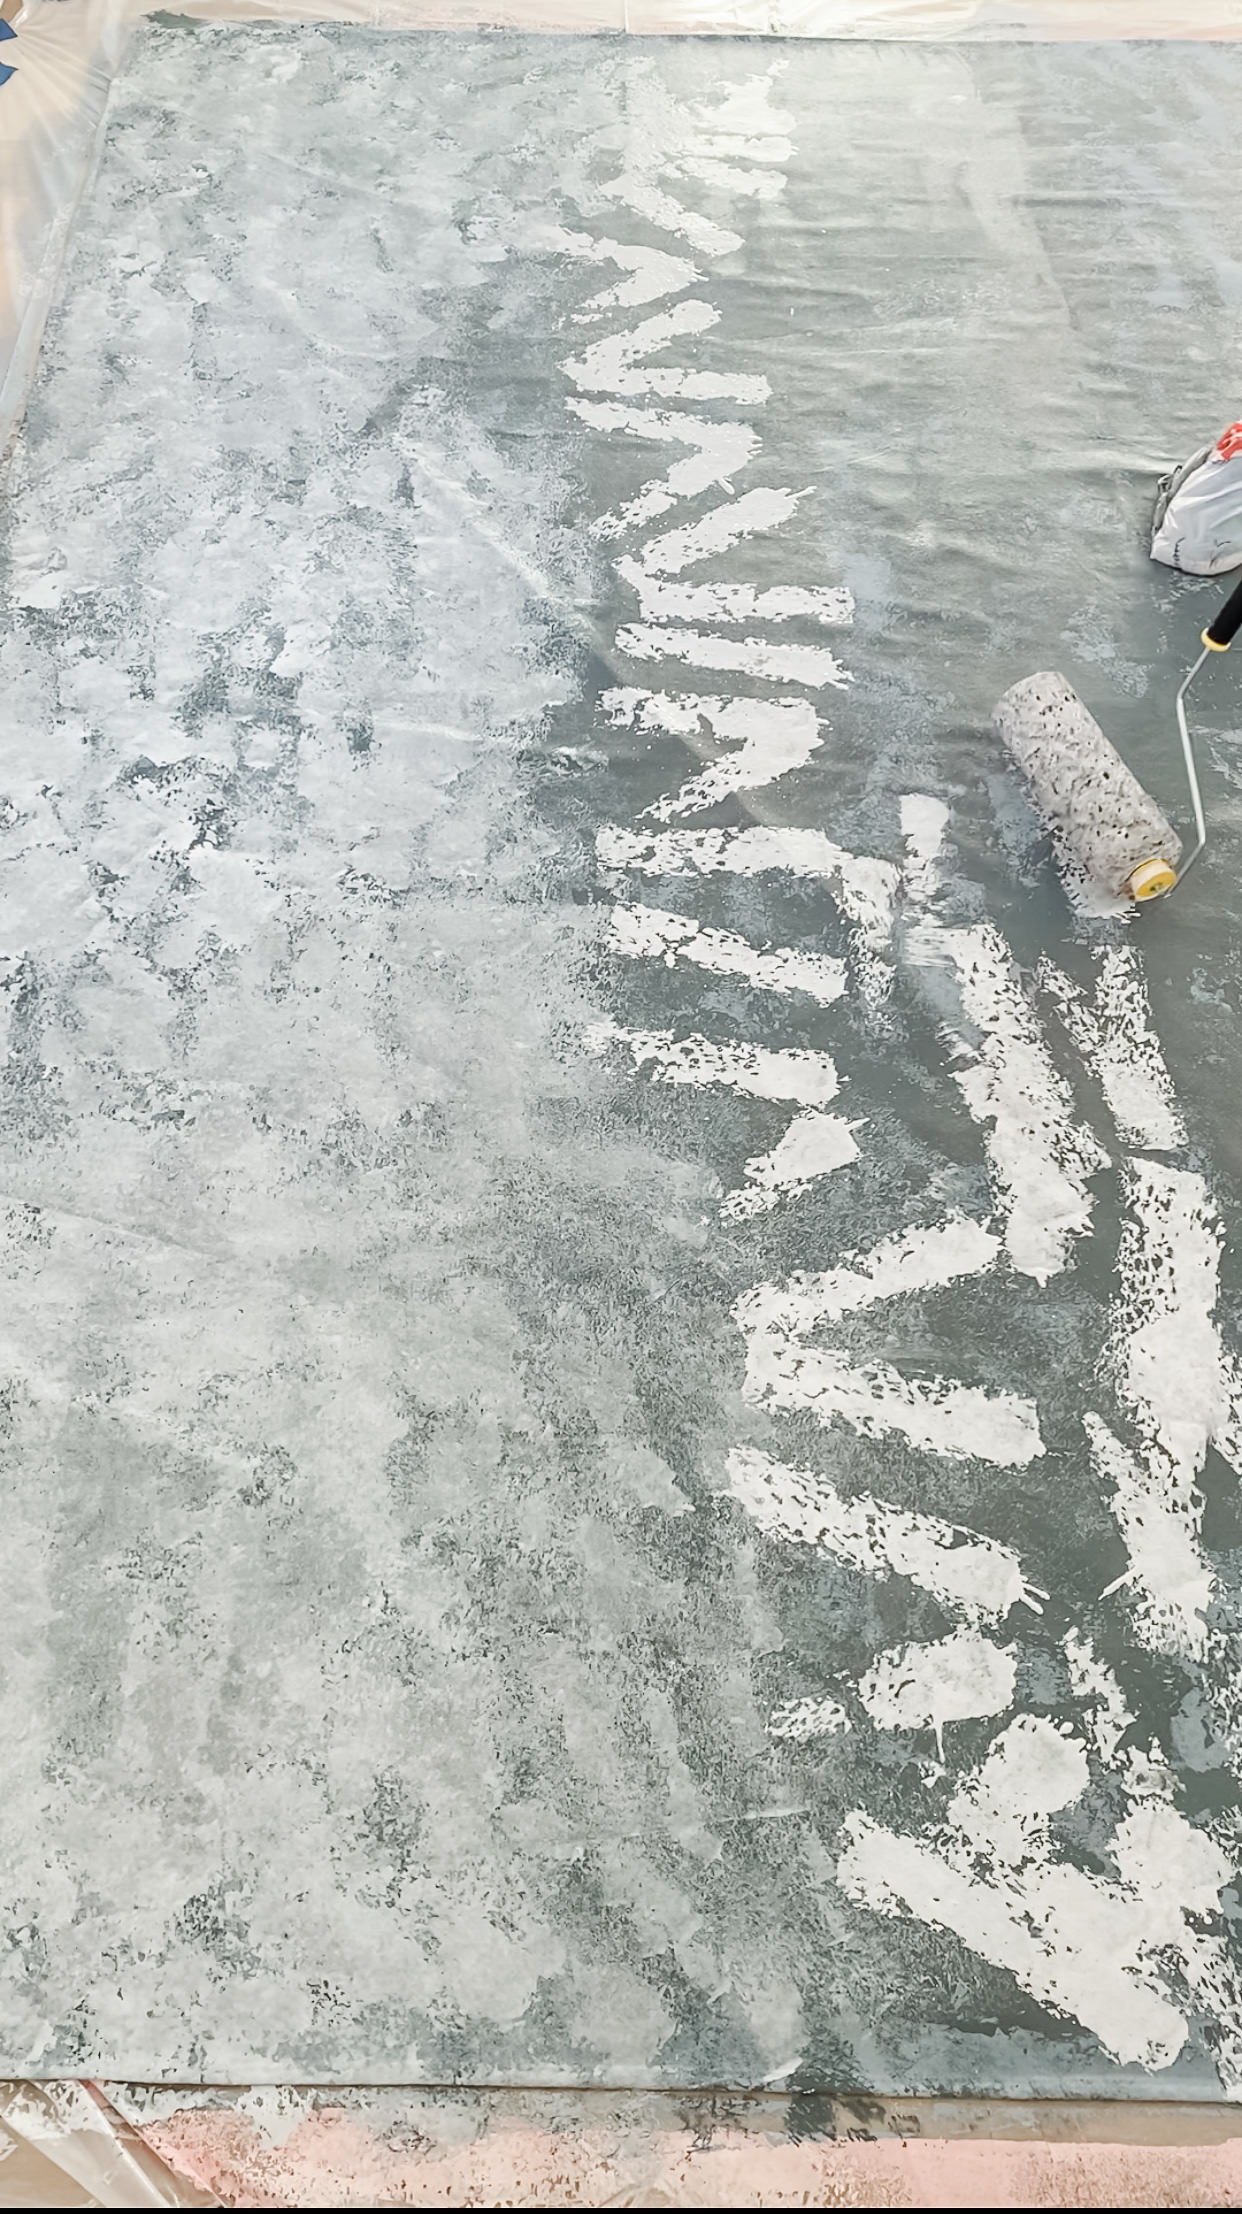
I used my phone to see what it would look like in camera. I held up an object in the foreground and it gave me an idea of what the background would look like (make sure it’s dry when you do this). It was still a little too dark and “contrasty” for what I was looking for. 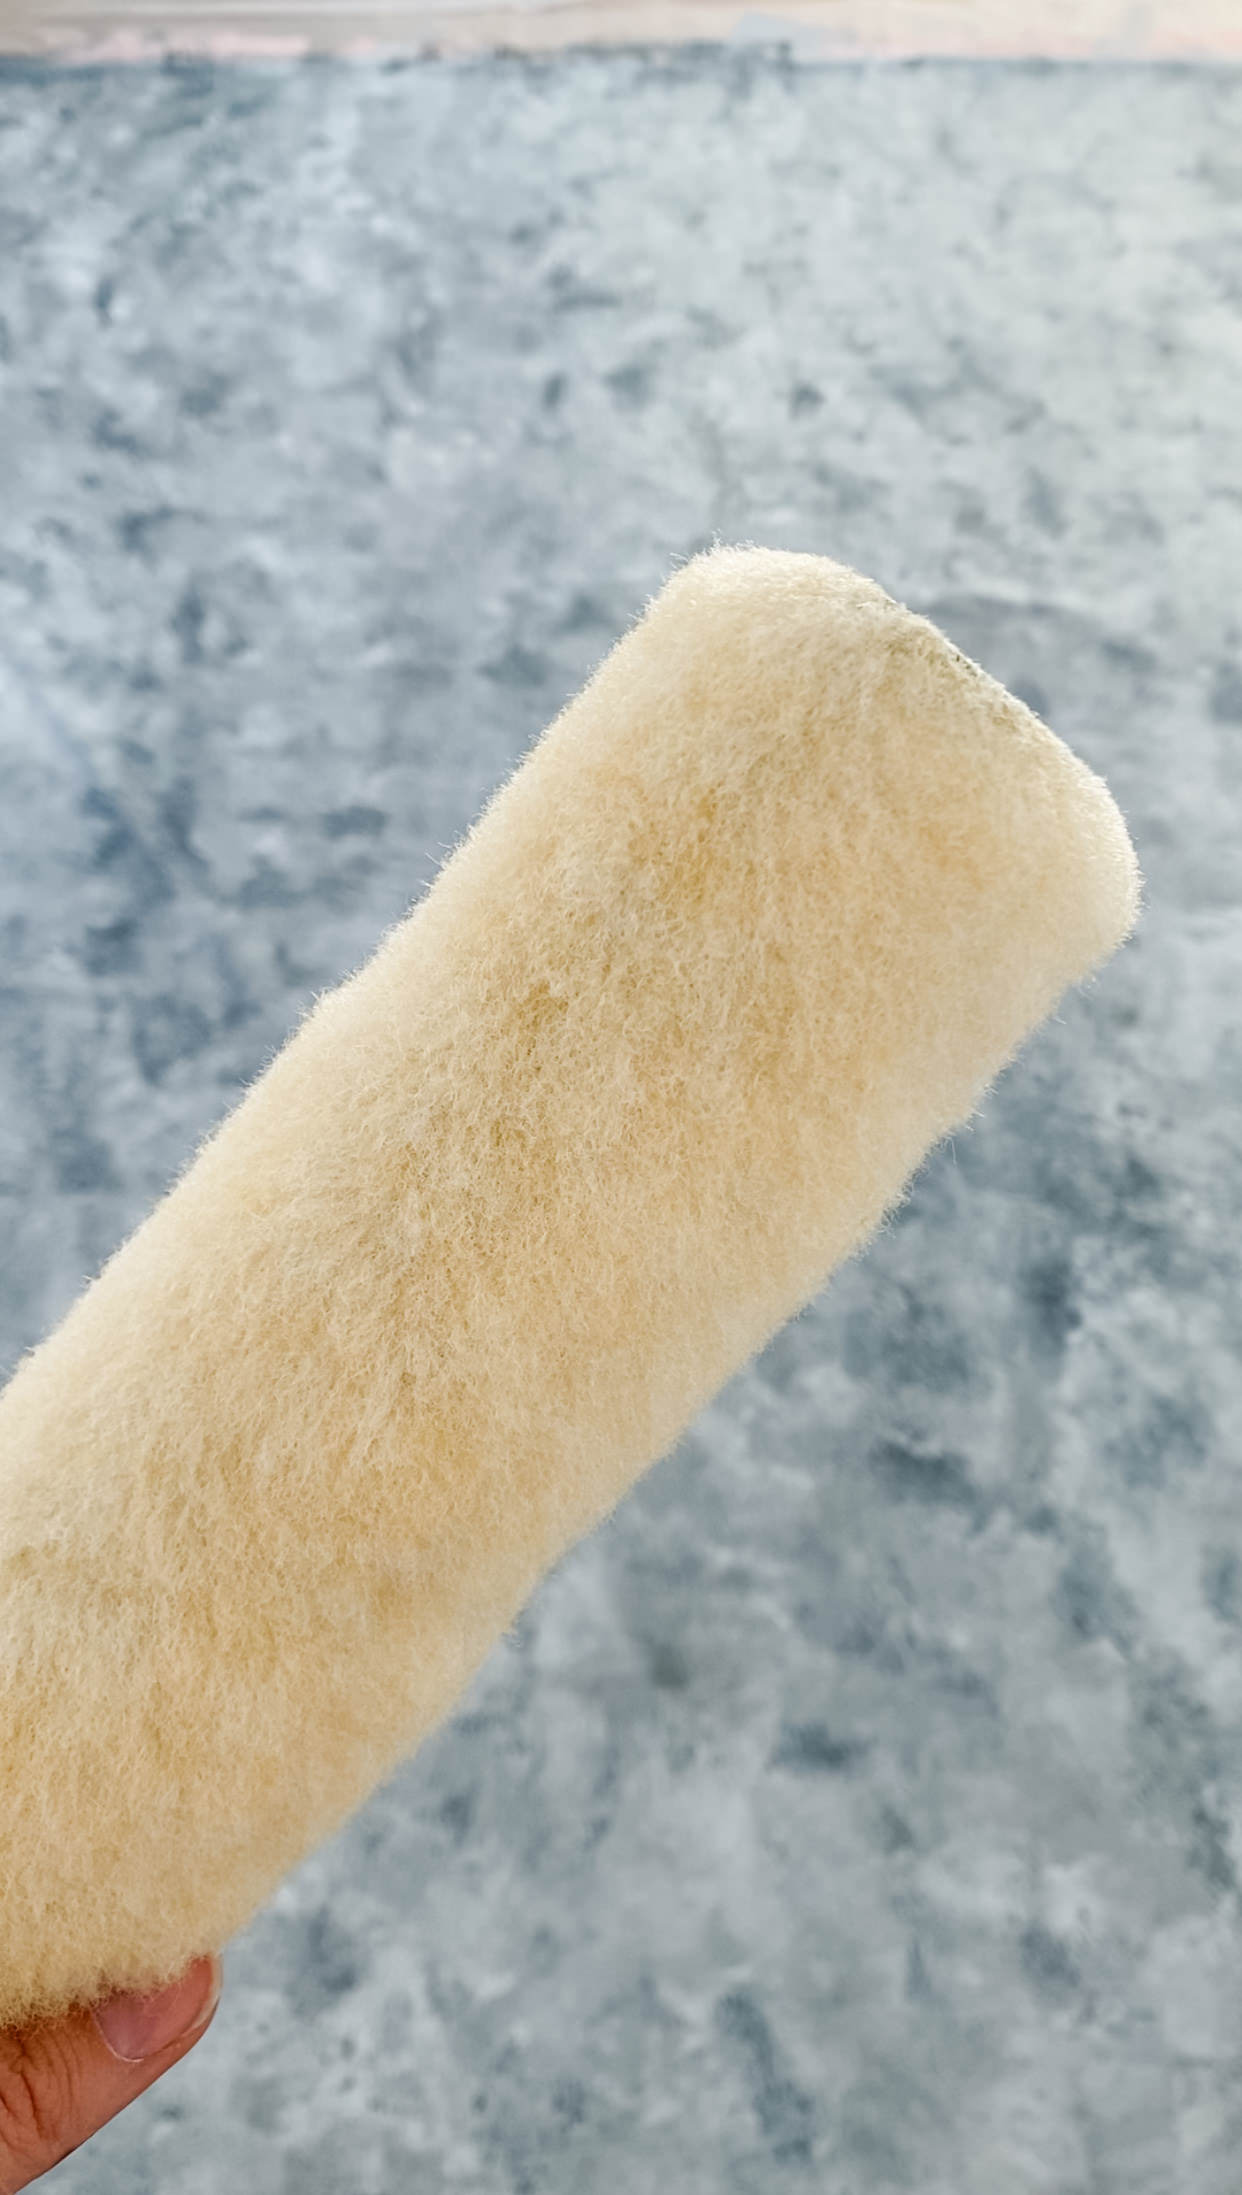
Step Five
So, the next day I decided to add in more of the medium color! I did it section by section. I stamped on some of the “Little Falls” blue and then I stamped on some “Silver Mist” blue(both diluted) and blended them together immediately (it dries fast!). This gave me exactly what I was looking for.
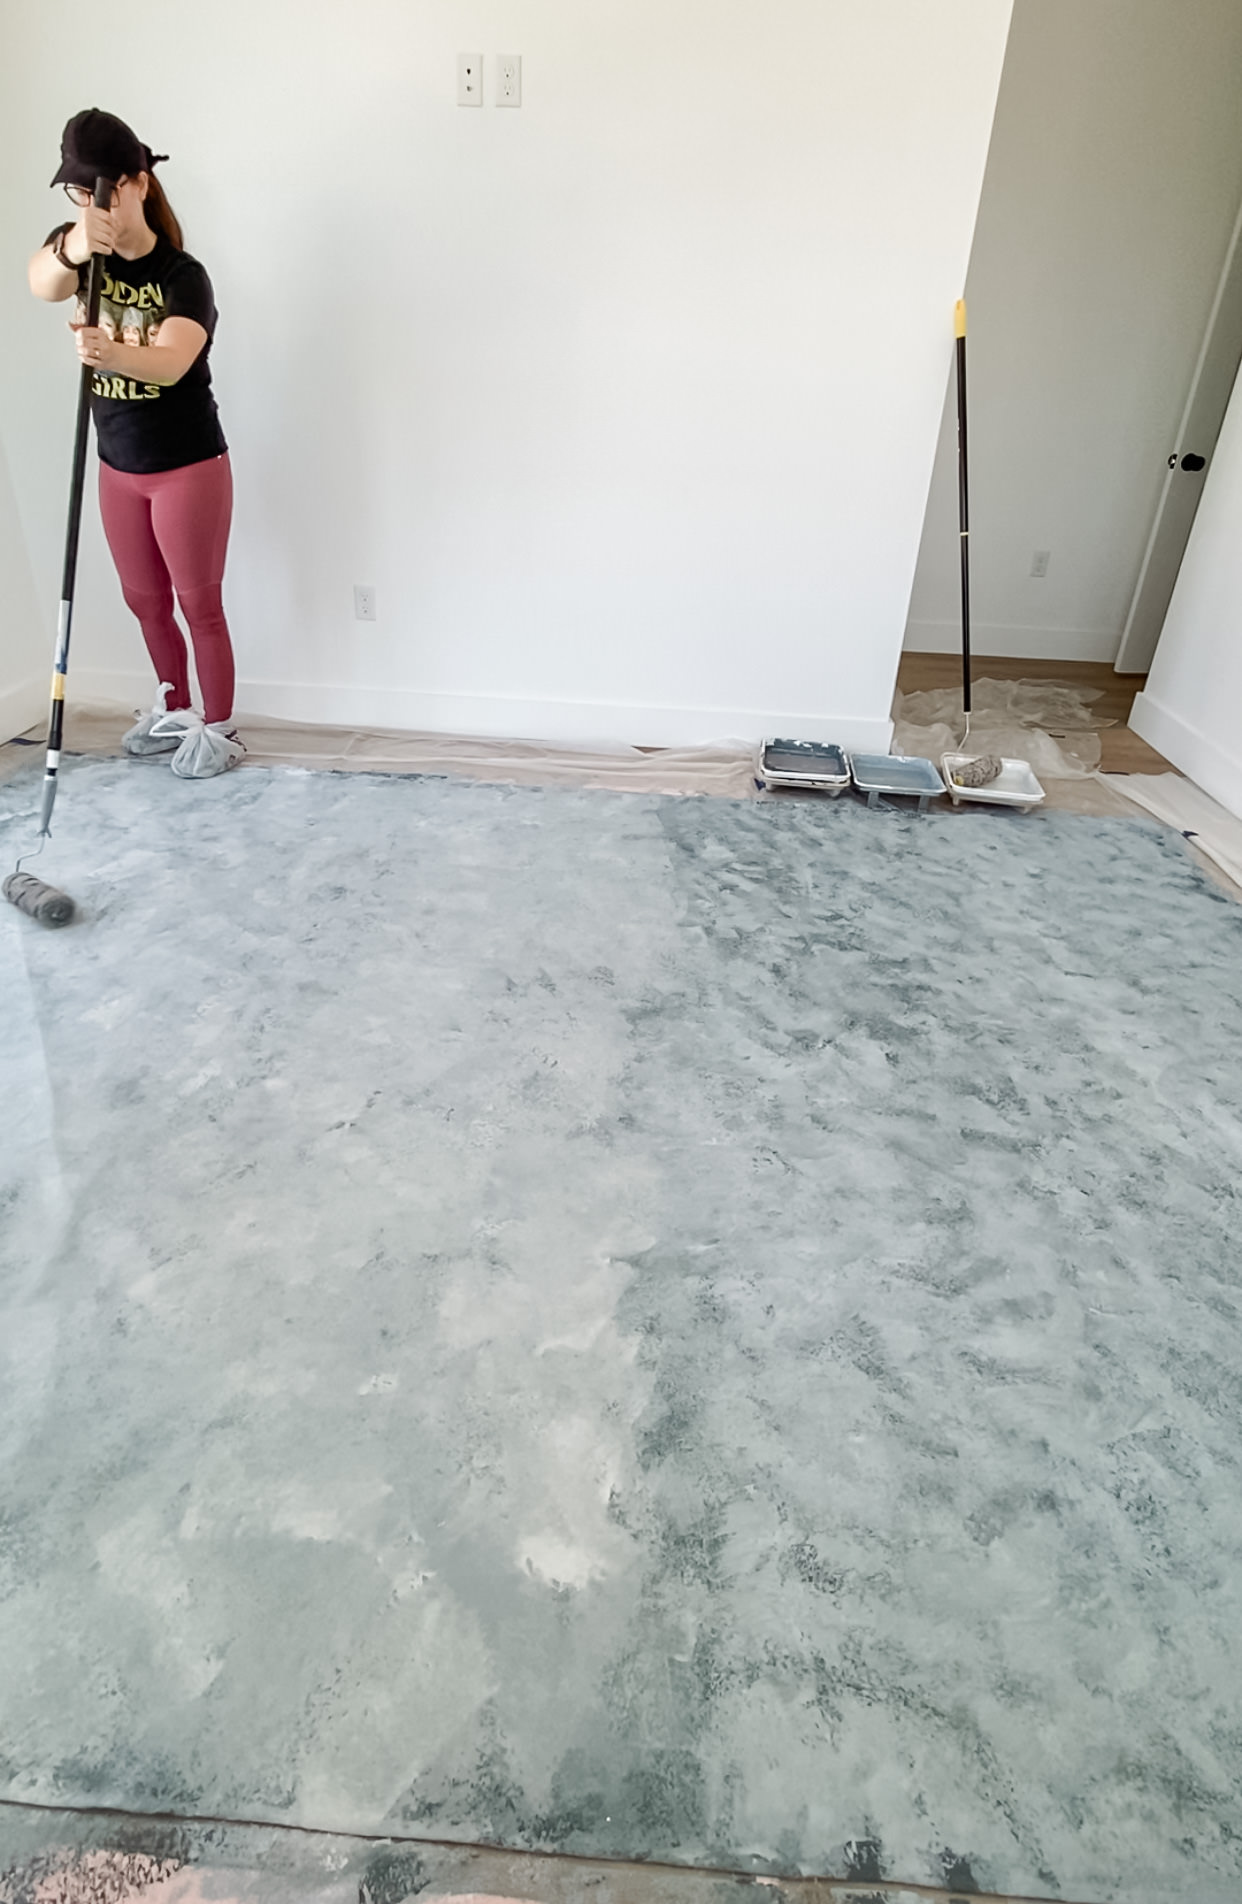
I let that dry a couple of hours and tested it again with my phone and the closest object to me.
Let it dry for at least 24 hours before rolling it up! I use a 3/4″ PVC pipe to roll my backdrops on and store them. Unfortunately I have a teeny tiny two-door car so I have to remove the pvc when I take it to sessions.
I bought this cheap stand set and it works pretty well for what I’m doing. I do on-location sessions, so I tote the stand and backdrop along with me. It especially works out when my location has an indoor option with window light. I could also use it outside, but only if it’s not windy. Otherwise I would have one big kite on my hands. lol.
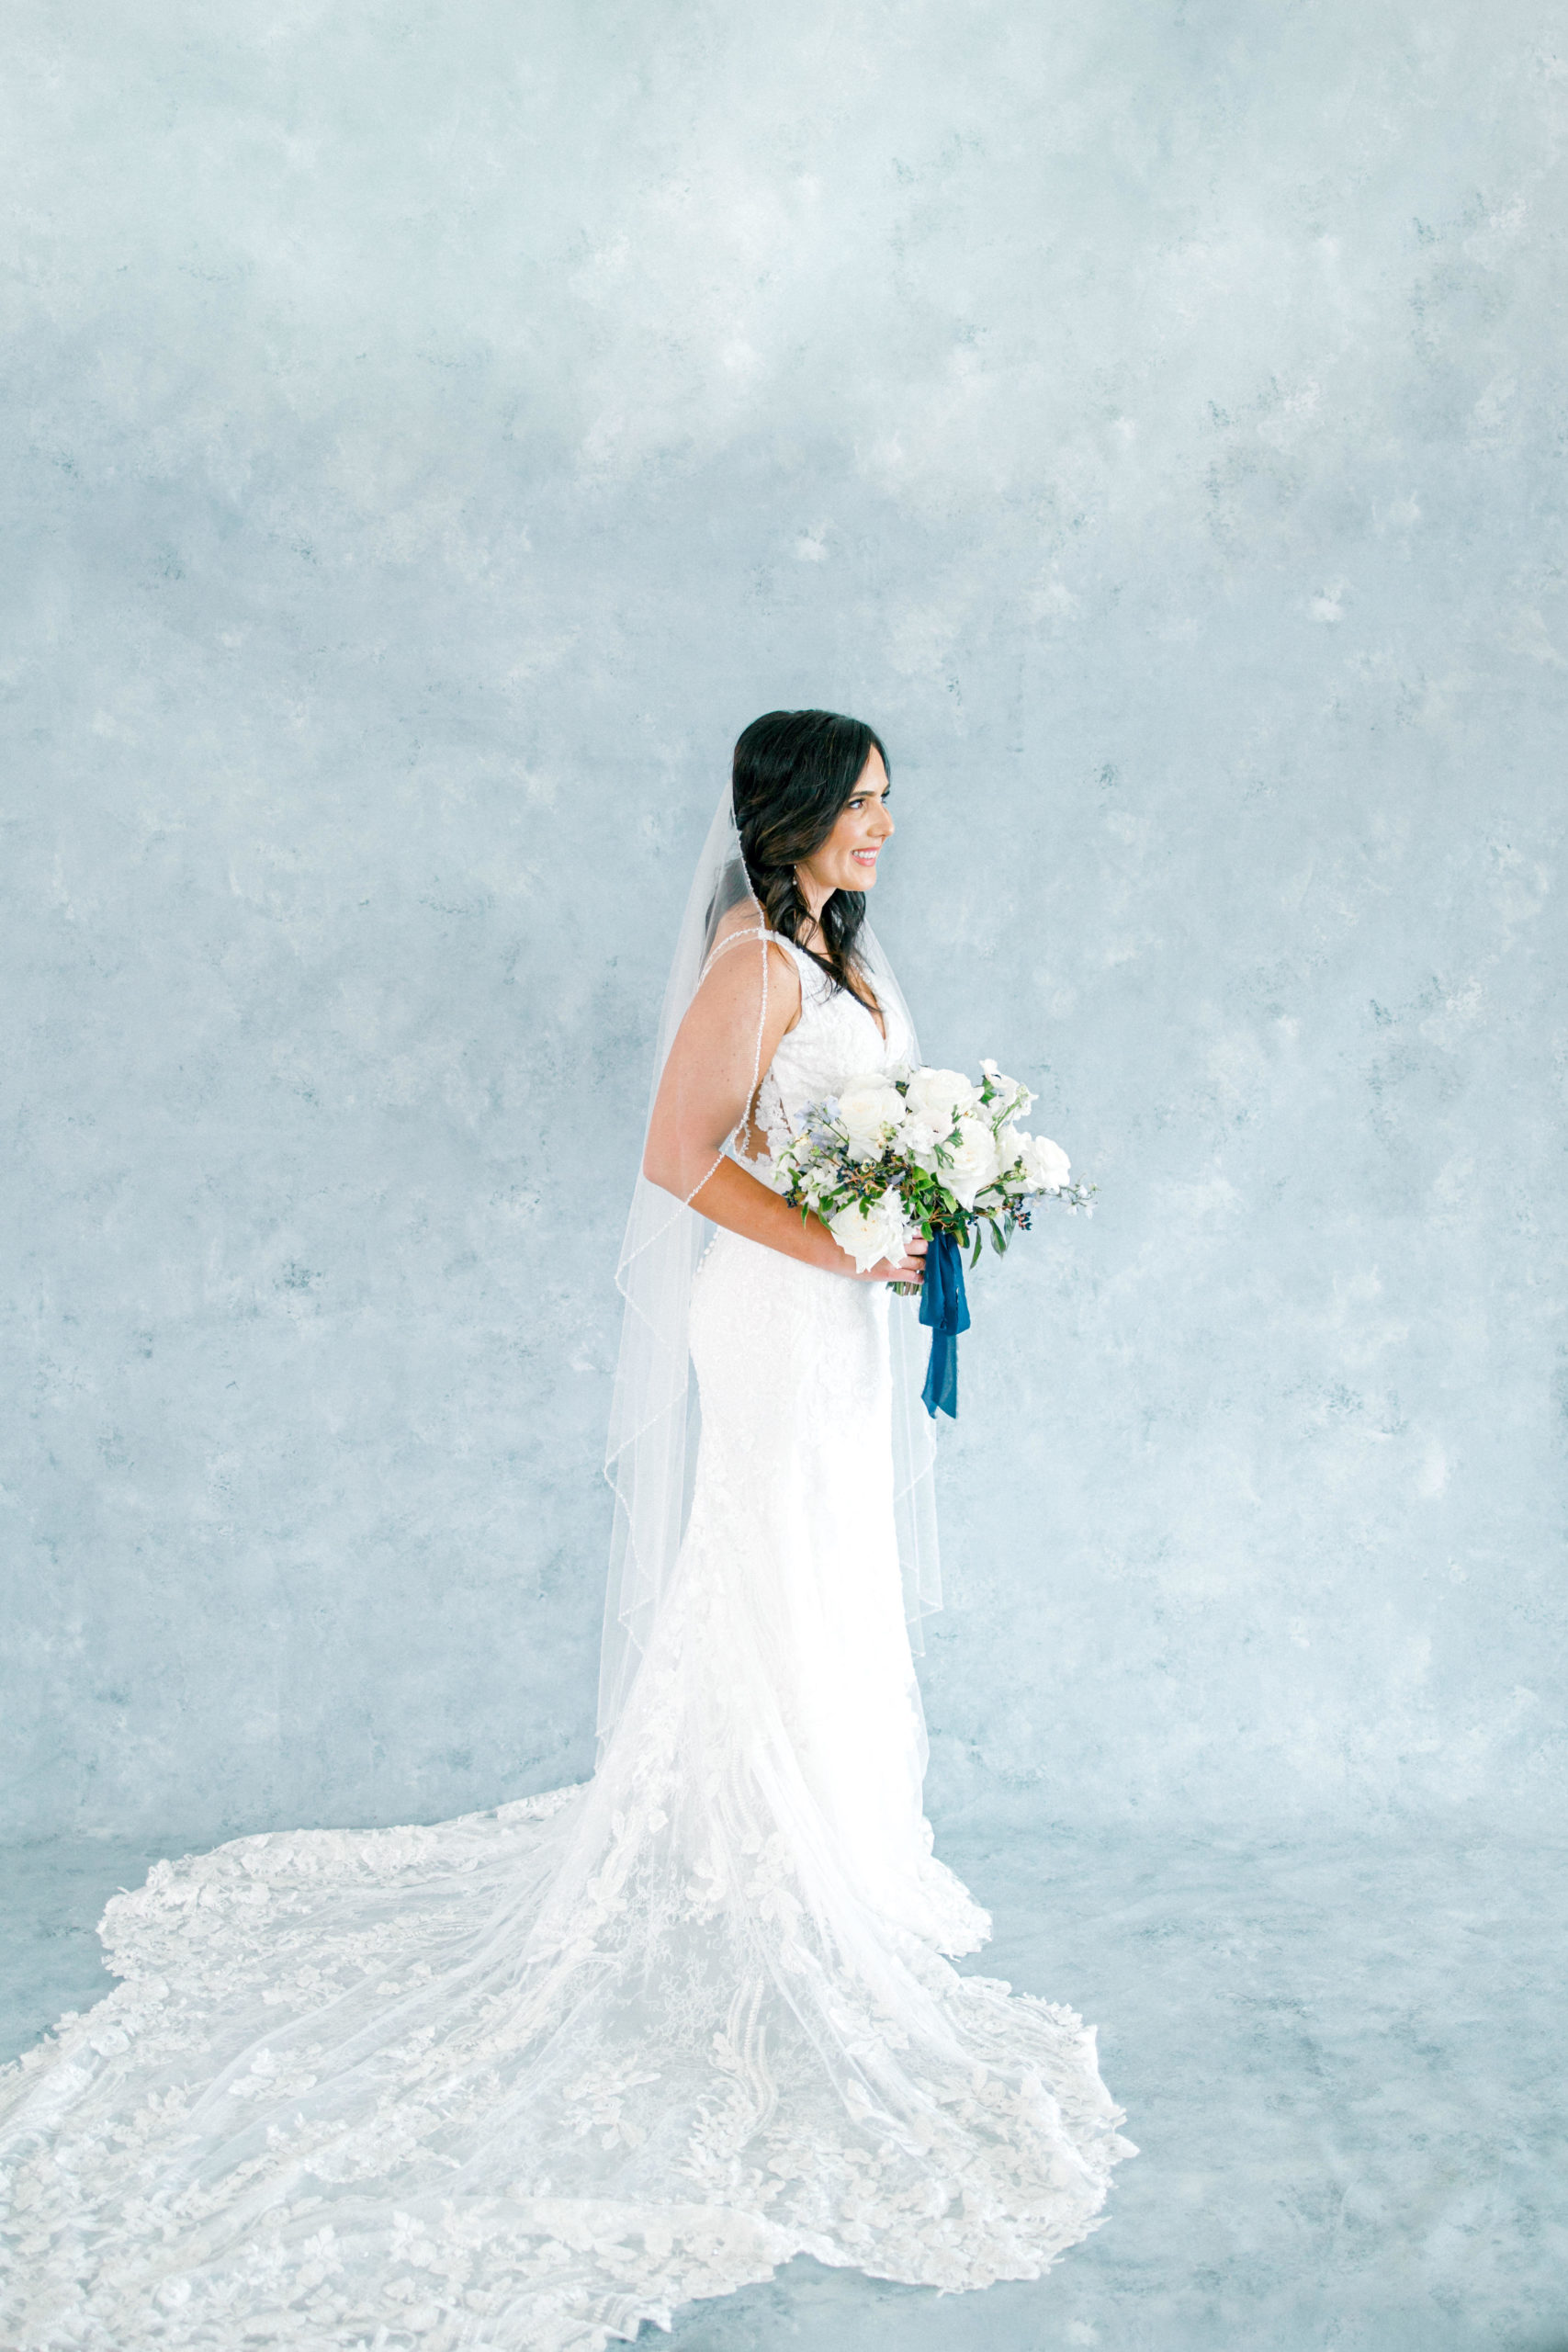
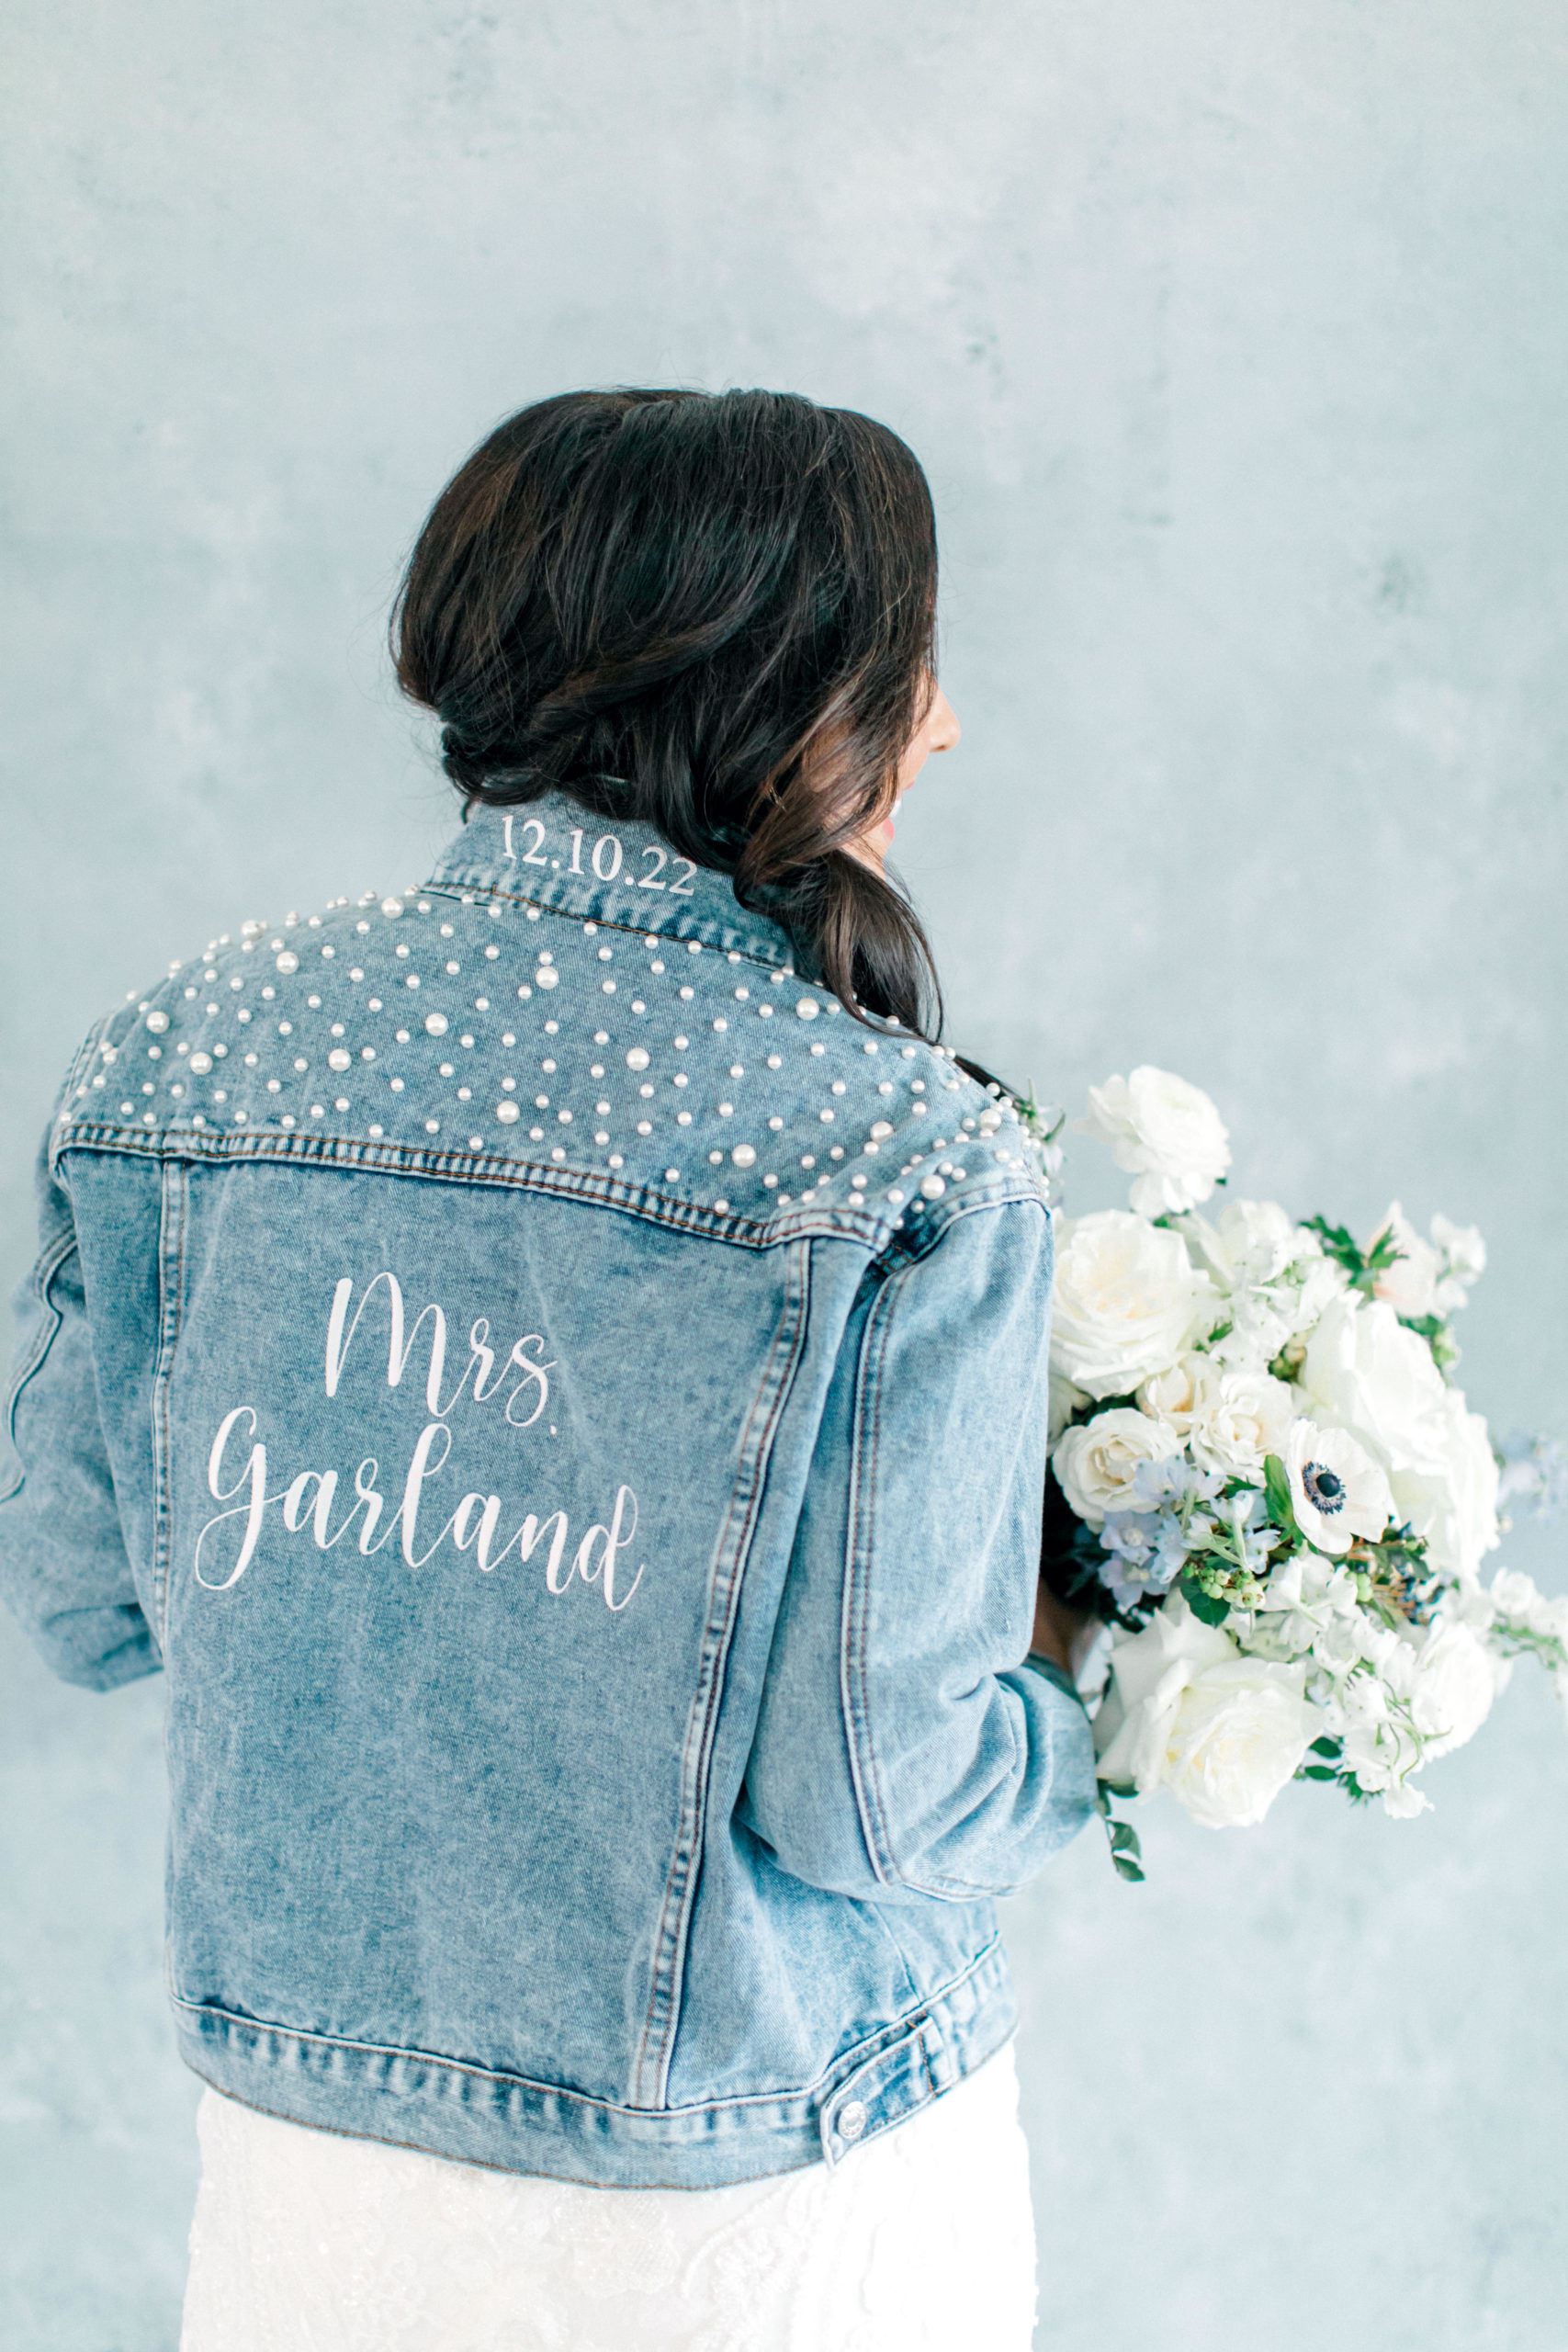
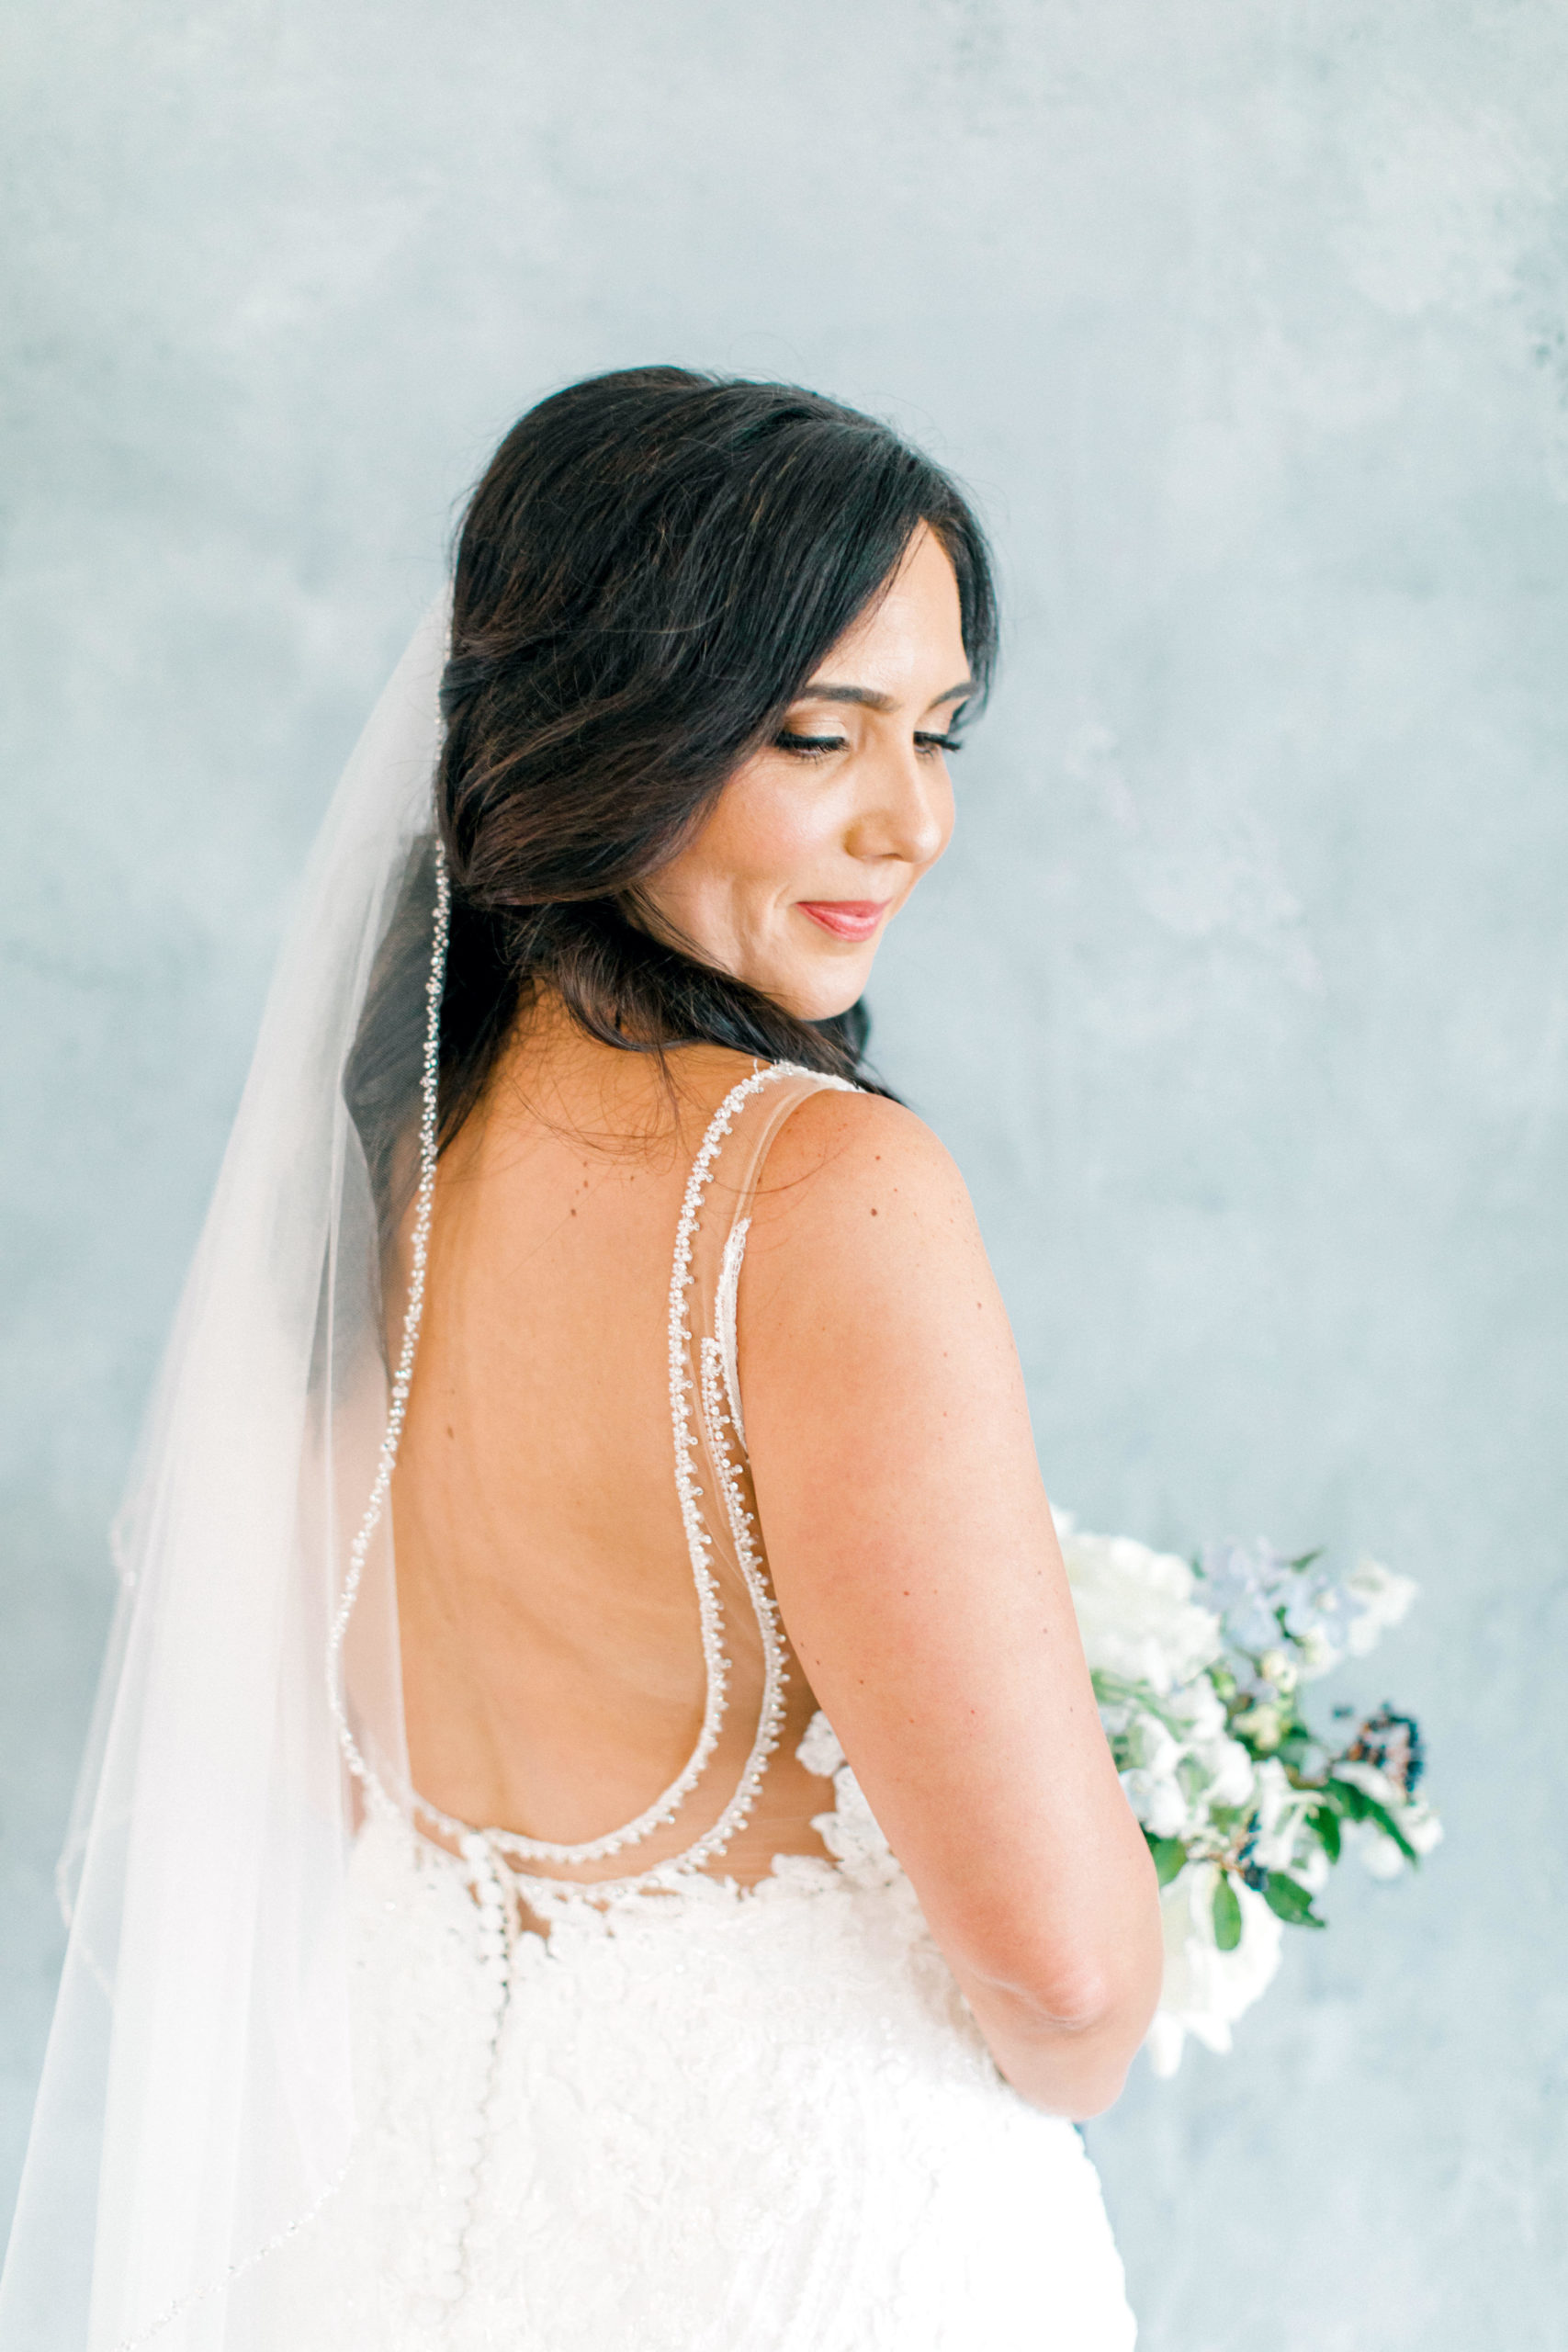
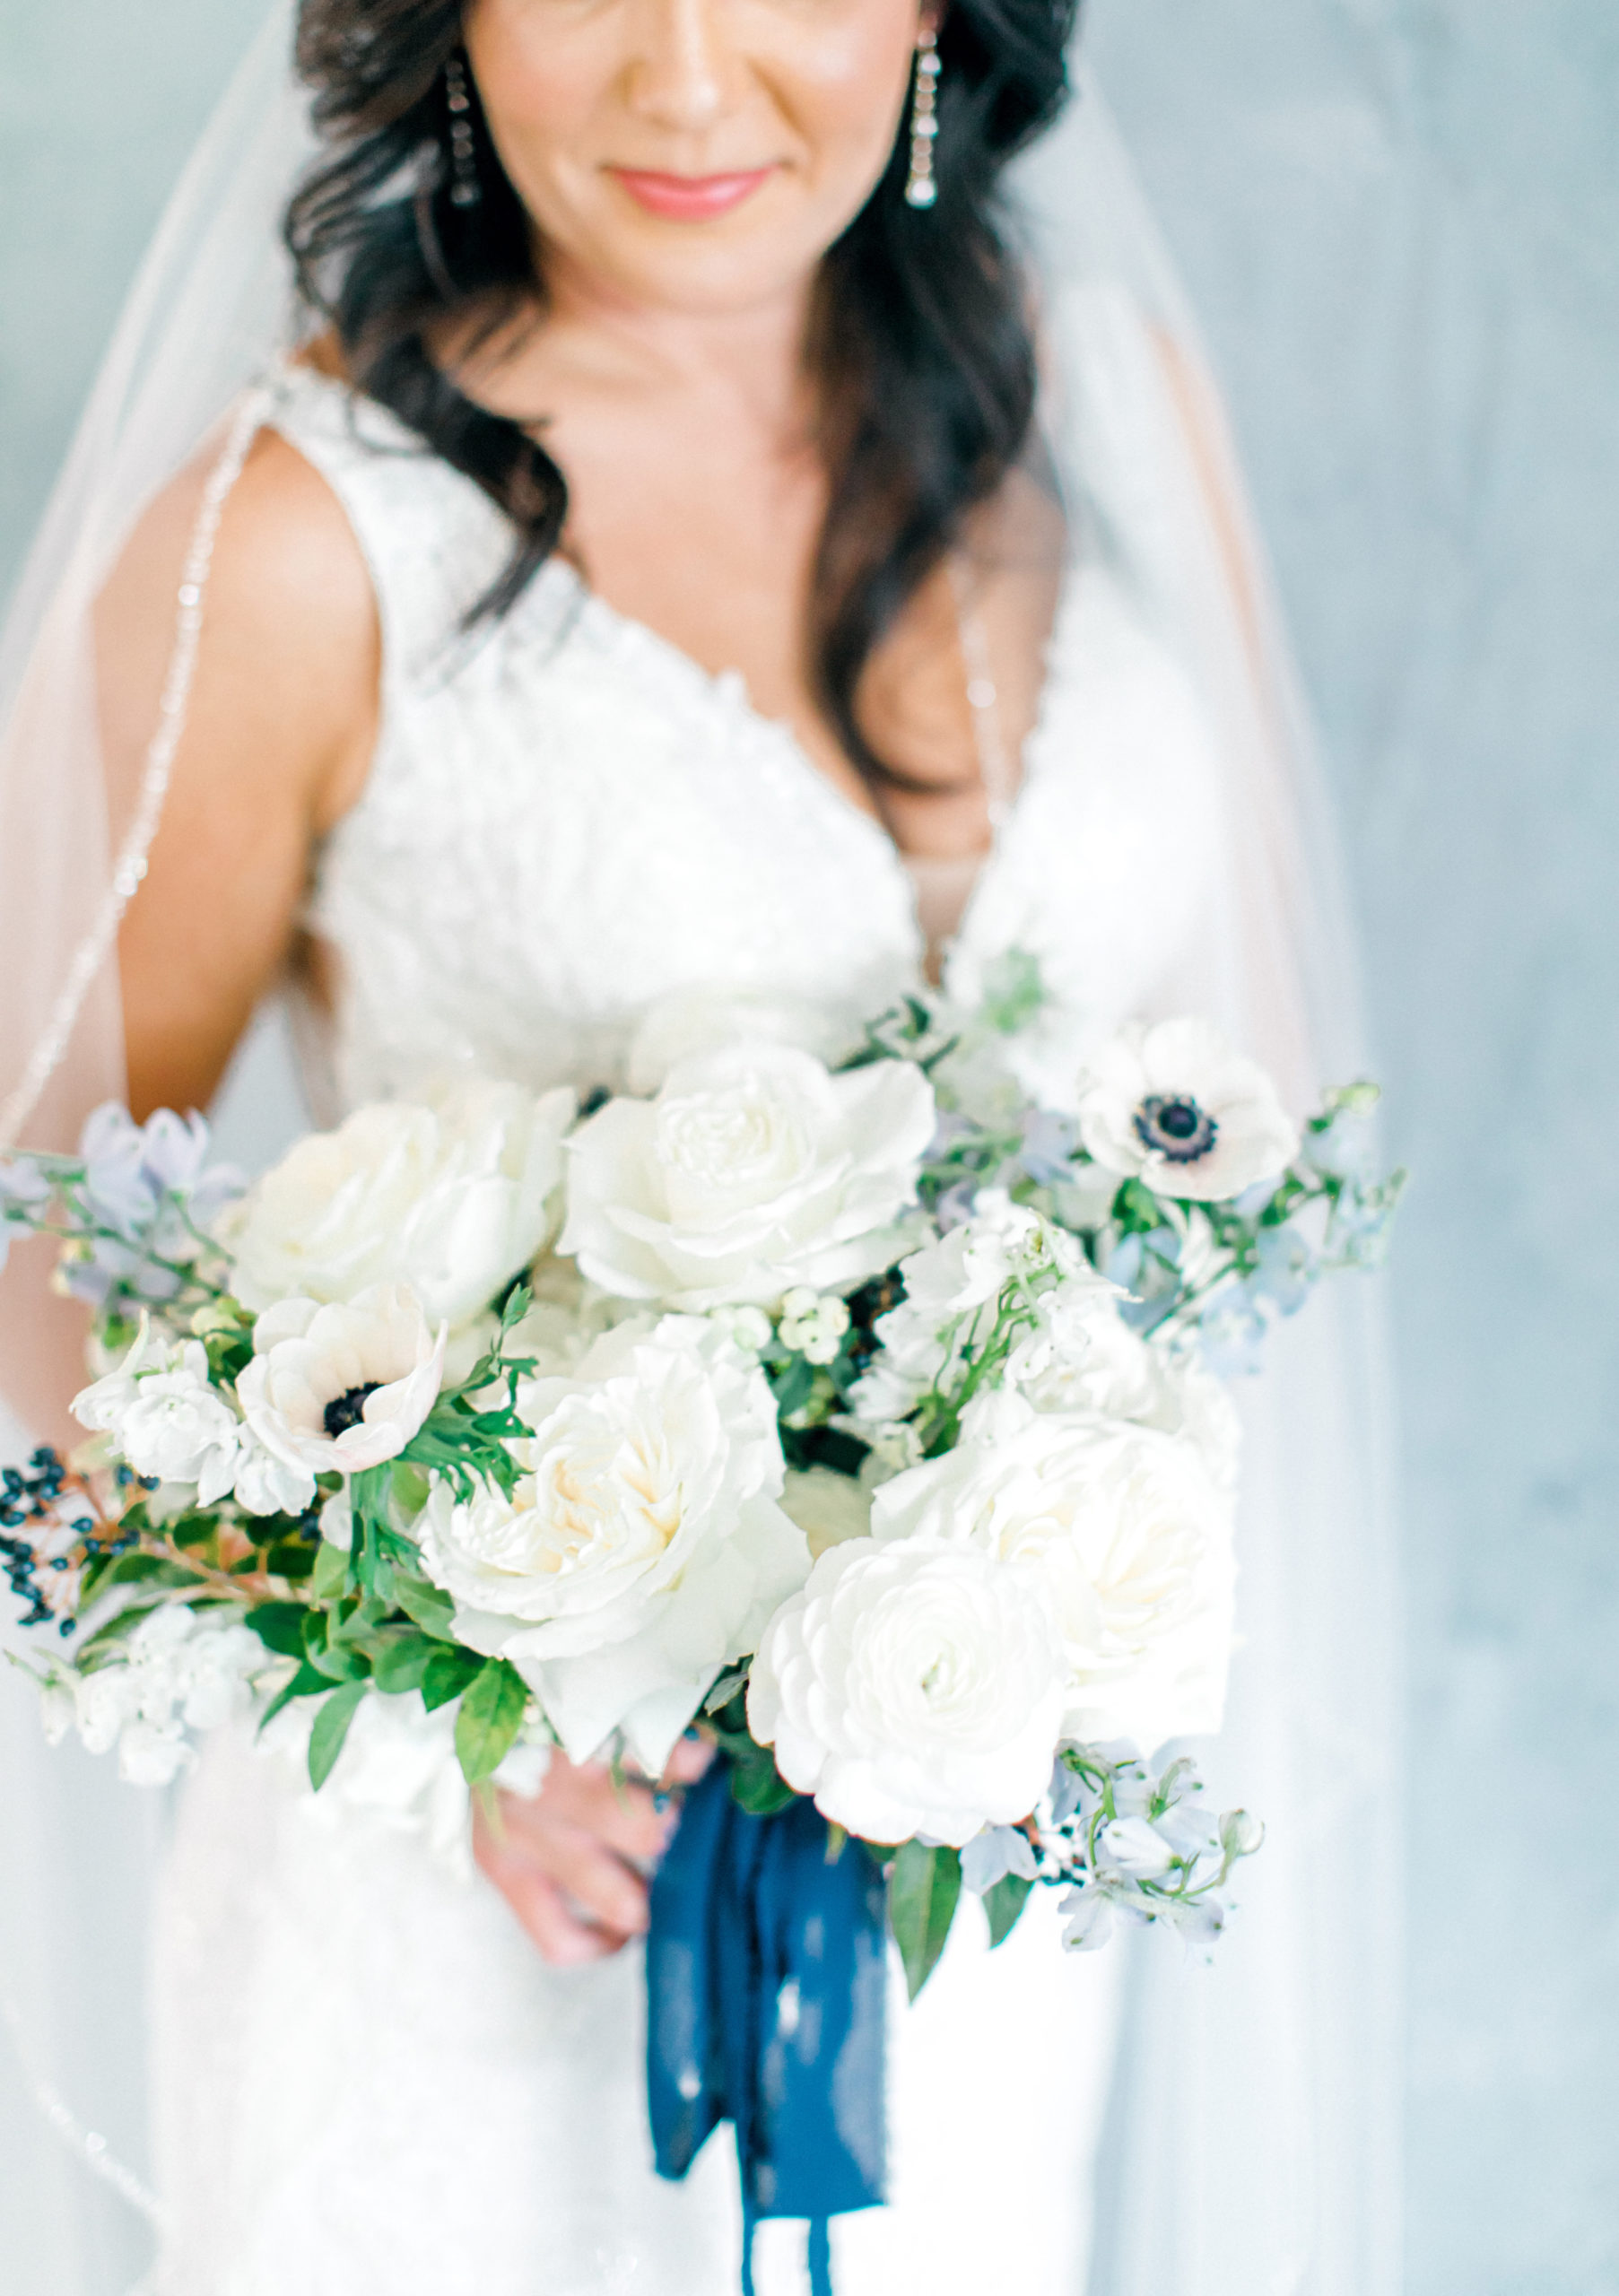
And here are a few of my favorites from Kristen’s bridal session with this backdrop! I also painted a pink one you can see in Kristina’s bridal session.
(side note: I did have to use the clone stamp for the first image on the top section since the backdrop wasn’t very tall)
*What I would have done differently*
I would have done my darker color first! (So next time I’m getting my darker color in the gallon size paint) I would have also started the other two colors while the first color was still wet so they could blend better!
So here’s my game plan for the next backdrop:
Dark color first (don’t wait for it to dry).
Medium color sponged on–about a 2 foot section.
Light color sponged on top, then blend the two as I go (instead of doing the entire backdrop one color at a time like I did the first time).
More Tips
Walmart has a 9×12 backdrop that’s even cheaper, but BEWARE! I bought it and it STINKS TO HIGH HEAVEN. I’m not sure what chemicals they used in it, but it smelled so bad and I didn’t even open it! It was seeping through the plastic!
Use matte/flat paint! stay away from glossy and semi gloss. Eggshell would work in a pinch.
You don’t have to use the extension rods, but I definitely suggest them if you’re an old lady like me.
Side Note
I know the Karens will come for me saying I don’t respect the craft and art of the painters who sell painted custom backdrops, and that’s not true. What is true–I don’t have $500(ore more) just laying around to spend on a backdrop that I’ll use once in a blue moon. I don’t think my backdrop is as beautiful as one that I could buy from an artist, but it was perfect for what I used it for. I’m sharing this because I know there are a LOT of photographers, and even brides, who love the look of painted backdrops but they’re not in the budget! I hope I saved you a lot of time and money by sharing my journey with these. I plan on making a grey backdrop as well and maybe a rainbow one! I’ll share more on my Instagram when I do. PS this would be an amazing photo booth backdrop as well!

Related Posts
xoxo, Allison
Allison Jeffers is a photographer and educator serving sweet couples and helping other creative entrepreneurs reach their goals. She specializes in wedding photography, elopements, and proposals as well as Bridal and Engagement portraits in Texas. She is available for travel worldwide and has her passport ready!


Thank you for sharing this blog.
Of course! Glad it helped :)